Learn about frequent issues you may face when installing Kali Linux in a virtual machine and how to quickly fix them.
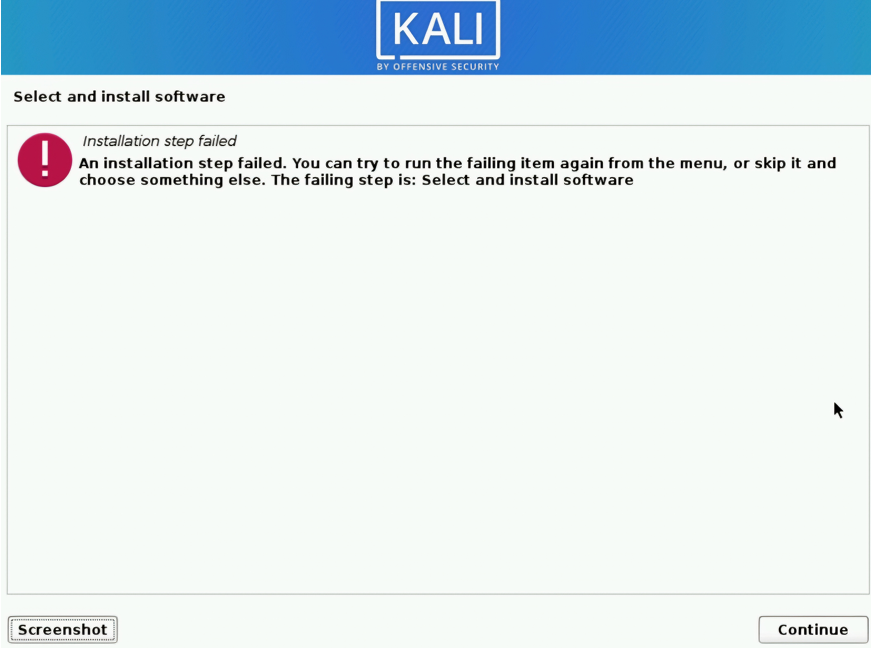
This error often occurs during package installation, particularly GUI components:
Cause: Insufficient disk space on the VM image (e.g., < 20 GB) .
Allocate at least 20 GB disk and 2 GB RAM.
When prompted with the error, choose “Continue” to skip.
Then boot to terminal and install GUI packages manually:
sudo apt-get update
sudo apt-get install kali-desktop-xfce kali-linux-default
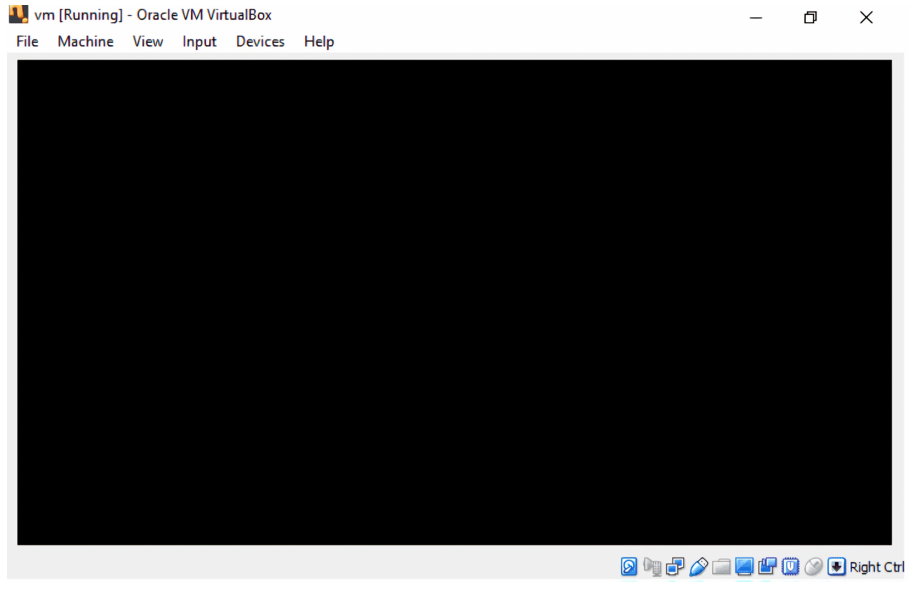
A blank screen with a blinking cursor can appear post-install:
Causes:
Graphics driver issues or disabled 3D acceleration.
Wrong VM settings—32 bit vs 64 bit, Secure Boot enabled.
Disable 3D Acceleration in VirtualBox settings
Increase Video Memory to 128 MB
Reinstall or switch to XFCE desktop:
sudo apt install kali desktop-xfce
Use terminal mode (Ctrl + Alt + F1), login, and run:
startx
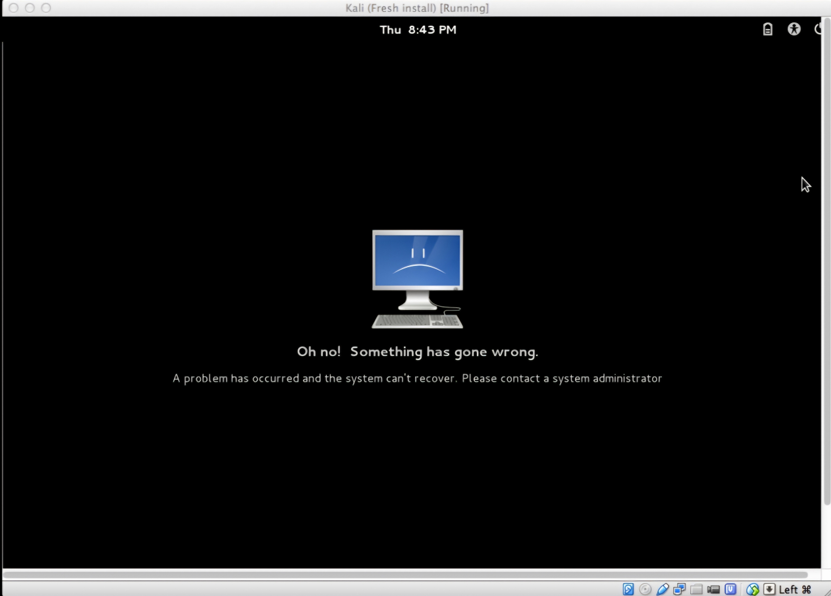
GNOME desktop crash —
Low RAM
3D Acceleration enabled
Incompatible graphics settings
Disable 3D Acceleration in VM settings
Allocate at least 2 GB RAM and 128 MB video memory
Switch to XFCE desktop using:
sudo apt install kali-desktop-xfce
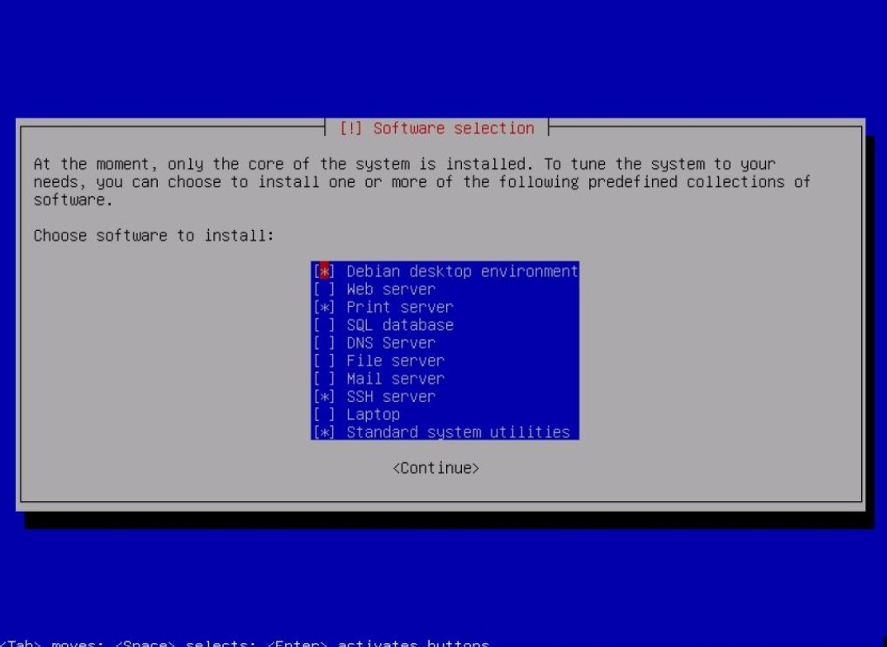
Error Description: Installation menu stalls or fails to display properly during setup.
Fix Tips: Re-download a valid ISO, use official Kali image (or OVA), allocate enough disk and enable virtualization.
Virtualization (VT-x/AMD-V) is disabled in BIOS/UEFI
Hyper-V or other virtualization apps (like WSL2, Docker) are conflicting
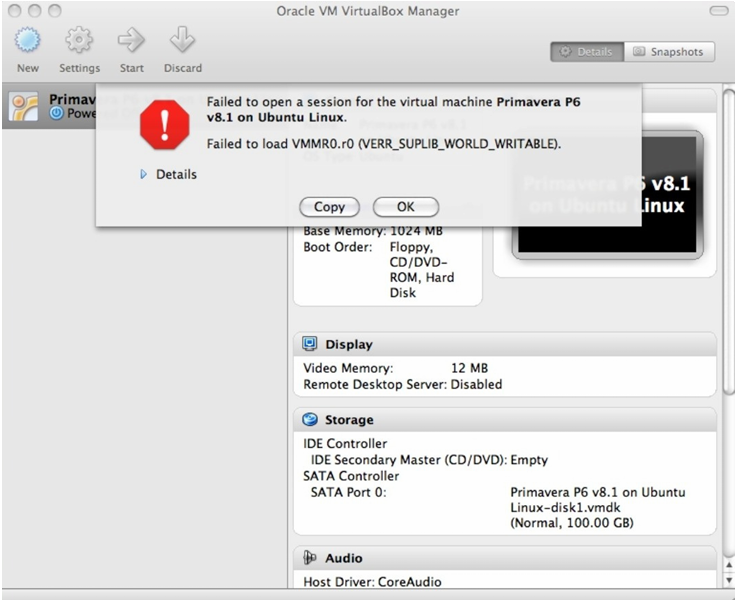
Corrupted saved state of the VM
Insufficient system permissions or VirtualBox not run as admin
Enable hardware virtualization (VT‑x/AMD‑V) in your computer’s BIOS/UEFI
Disable conflicting hypervisors, such as Hyper-V on Windows
In Windows, run VirtualBox as Administrator
If the VM has a saved state, right-click the VM → Discard Saved State, then retry launch
At Tedora Hackers Academy, we are committed to transforming cybersecurity enthusiasts into world-class professionals.